 DIY electric fence
Installing an electric fence system may seem simple, but small details can make a big difference. Even a minor mistake, like weak grounding or using the wrong energizer, can cause major voltage loss. This guide helps you avoid common installation mistakes, using LIFEALL’s professional energizers as examples.
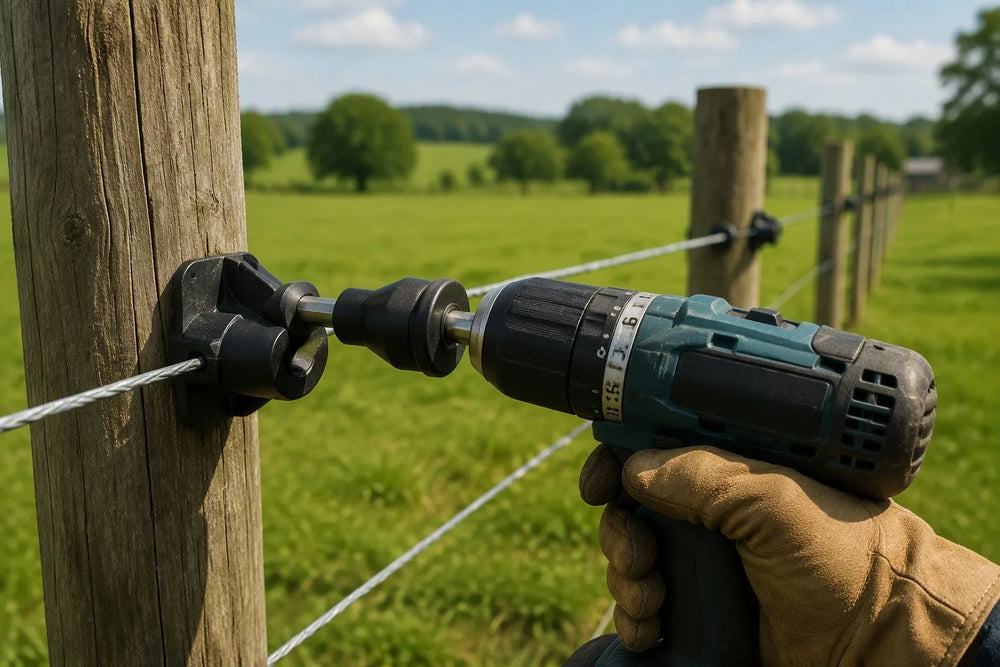
The LIFEALL Electric Fence Insulator Driver is a great tool for this application. Key specifications: Drill attachment socket bit for screw-in post insulators.
1. Mistake 1: Poor Grounding System
A fence is only as strong as its grounding. In most cases, voltage issues come from poor grounding, not from the energizer.
How to Fix It:
a) For small fences (below 8 acres), one galvanized ground rod driven at least 1.5 m (5 ft) into moist soil is usually enough.
b) For medium or large systems, use one to three galvanized ground rods, each driven at least 1.5 m (5 ft) deep in moist soil, to ensure stable current return.
c) In dry or sandy soil, pour water or add a little mineral salt around rods to improve conductivity.
d) Make sure grounding wires are clean, tight, and corrosion-free.
2. Mistake 2: Using the Wrong Energizer Size
Selecting the right electric fence energizer is crucial for stable voltage and animal control. LIFEALL offers different models for various farm sizes and power conditions.
Model
Type
Effective Area
Fence Length
Output Energy @500Ω
Power Source
Waterproof
LIFEALL P8
AC Powered
12KM
7.5 Miles
3 J
AC 110-240V
IP65
Solar 0.5J
Solar
50 Acres
20 Miles
0.5 J
Solar + Battery
IP66
LIFEALL 15.5J
3-in-1
600 Acres
30 Miles
14.5 J
AC/DC/Solar
IP65
LIFEALL 9J
High-Power
370 Acres
90 Miles
9 J
Solar + Battery
IP65
How to Choose:
a) Use LIFEALL P8 for small paddocks near a power outlet.
b) Choose LIFEALL Solar 0.5J for portable solar-powered systems.
c) Select LIFEALL 15.5J if you want flexibility between AC, battery, or solar power.
d) Pick LIFEALL 9J for large-scale ranches needing high energy output and long-distance performance.
3. Mistake 3: Vegetation Touching the Fence
Overgrown grass and weeds can “leak” voltage by grounding parts of the fence line, especially on polywire or electric netting fences.
How to Fix It:
a) Regularly mow or trim vegetation beneath the fence.
b) Maintain at least 10 cm clearance from the ground.
c) Use fiberglass or plastic fence posts to keep lines tight.
4. Mistake 4: Loose Connections or Poor Insulators
Loose wire joints and cracked insulators can cause energy loss and reduce voltage.
How to Fix It:
a) Use high-quality plastic or porcelain insulators, especially on metal or pigtail posts.
b) Check stainless steel clips regularly for rust or damage.
c) Keep wire joints tight but not overstretched.
5. Mistake 5: Neglecting Regular Maintenance
Many farmers install their fences once and forget to check them again. Over time, weather, dust, or vegetation can reduce voltage.
How to Fix It:
a) Test voltage weekly using a digital fence tester.
b) Keep connectors dry and clean.
c) Re-tighten or replace worn posts and insulators seasonally.
d) For solar energizers like LIFEALL Solar 0.5J or LIFEALL 9J, clean the solar panel regularly to ensure charging efficiency.
6. Conclusion
A reliable electric fencing system depends on three things: solid grounding, the right energizer, and regular maintenance.
For smaller areas, use LIFEALL P8 (AC).
For portable setups, go with LIFEALL Solar 0.5J (solar).
For flexible dual power use, choose LIFEALL 15.5J.
For large, high-energy systems, rely on LIFEALL 9J.
LIFEALL provides complete fencing solutions including energizers, netting, polywire, posts, and accessories, trusted by farmers worldwide.
Recommended Products
LIFEALL Electric Fence Insulator Driver
Drill attachment socket bit for screw-in post insulators
LIFEALL Electric Fence Ring Insulators Screw-in 50/100 Pcs
Screw-in, UV resistant, for wood posts, 50/100 pcs
LIFEALL Electric Fence Polywire 2mm – 200m/500m
2mm polywire, high-visibility red & white, 200m/500m reels
LIFEALL Electric Fence Voltage Tester – 8-Level LED
8-level LED, 600V to 12000V, works with all energizer types
Read article
 electric fence care
Introduction
Proper electric fence maintenance is essential for keeping your fencing system reliable throughout the year. Even the best electric fence energizer cannot deliver consistent performance without regular inspections and maintenance.
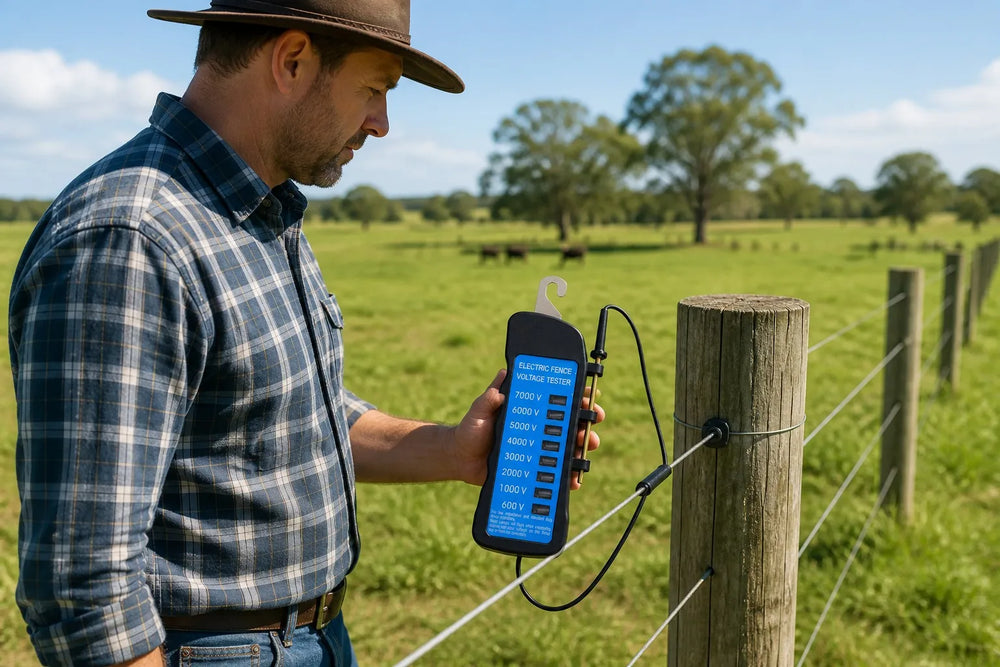
The LIFEALL Electric Fence Voltage Tester – 8-Level LED is a great tool for this application. Key specifications: 8-level LED, 600V to 12000V, works with all energizer types.
By following a simple maintenance routine, you can reduce voltage loss, prevent costly repairs, extend the lifespan of your equipment, and keep your livestock safely contained.
1. Check Your Electric Fence Voltage Regularly
The easiest way to monitor fence performance is by checking the voltage on a regular basis.
Use a digital fence tester to measure the voltage at different points along the fence line, including near the energizer, in the middle of the fence, and at the far end. Consistent readings indicate that your system is working efficiently, while sudden voltage drops usually signal a problem that requires attention.
Regular voltage testing helps identify issues before they affect livestock control.
2. Inspect the Electric Fence Energizer
The electric fence energizer is the heart of the entire fencing system.
Inspect the energizer for signs of damage, loose wiring, or moisture. Make sure the power supply is stable and that all electrical connections remain secure.
If you use a solar fence energizer, clean the solar panel regularly and check the battery condition to ensure reliable charging.
A well-maintained energizer provides consistent output and improves the overall performance of your fence.
3. Keep Vegetation Away from the Fence
Grass, weeds, vines, and low-hanging branches can continuously drain power from an electric fence.
Walk along the fence line regularly and remove any vegetation that touches the conductors. This is especially important during spring and summer when plant growth is at its fastest.
Maintaining a clear fence line helps preserve voltage and reduces unnecessary strain on the energizer.
4. Inspect Polywire, Polyrope, and Polytape
Fence conductors should always be in good condition.
Check your polywire, polyrope, or polytape for broken conductive strands, frayed sections, excessive sagging, or worn connectors. Damaged conductors increase electrical resistance and reduce fence efficiency.
Replacing worn materials before they fail completely helps maintain consistent fence performance.
5. Examine Fence Posts and Insulators
Fence posts and insulators play an important role in supporting the fence and preventing electrical leakage.
Inspect all posts for damage or movement, especially after storms or heavy livestock pressure. Examine insulators for cracks, UV damage, or loose fittings that could allow electricity to escape into the post.
Replacing damaged components promptly helps maintain proper voltage throughout the fence.
6. Test the Grounding System
An effective grounding system is essential for any electric fence.
Inspect all grounding rods, clamps, and cables to ensure they remain secure and corrosion-free. During dry weather, the soil around the grounding rods may become less conductive, reducing fence performance.
Adding additional grounding rods or improving soil moisture can significantly improve the effectiveness of your electric fence.
7. Check Gates and Connectors
Gate handles, underground cables, and wire connectors should be inspected regularly.
Loose or corroded connectors create resistance that reduces fence voltage. Tighten all fittings and replace damaged components whenever necessary.
Maintaining strong electrical connections helps ensure that power flows efficiently throughout the fence system.
8. Prepare Your Fence for Seasonal Changes
Weather conditions affect electric fence performance throughout the year.
During the growing season, vegetation requires more frequent trimming. In winter, inspect the fence after snow, ice, or strong winds that may damage conductors or fence posts.
Seasonal inspections reduce unexpected failures and help maintain reliable operation in changing conditions.
9. Replace Worn Components Before They Fail
Waiting for components to fail completely often results in larger repairs and unexpected downtime.
Inspect your fencing system regularly and replace worn insulators, damaged conductors, weak batteries, and aging connectors before they affect fence performance.
Preventive maintenance is usually less expensive than emergency repairs.
10. Create a Routine Maintenance Schedule
The best way to keep an electric fence working efficiently is to follow a regular maintenance schedule.
A simple monthly inspection should include:
Testing fence voltage
Inspecting the energizer
Checking the grounding system
Removing vegetation
Examining conductors and insulators
Tightening electrical connections
Routine maintenance helps ensure your fence continues to perform reliably throughout the year.
Conclusion
Regular maintenance is the key to maximizing the performance and lifespan of your electric fence system. By inspecting your electric fence energizer, maintaining a strong grounding system, controlling vegetation, and replacing worn components before they fail, you can reduce maintenance costs and improve livestock security. LIFEALL Electric Fence offers electric fence energizers, polywire, polyrope, electric fence netting, fence posts, insulators, and fencing accessories designed to help farmers build dependable and long-lasting electric fencing systems.
FAQ
How often should an electric fence be inspected?
A visual inspection should be performed every week, while a complete maintenance check is recommended at least once a month.
Why does my fence voltage drop over time?
Voltage loss is commonly caused by vegetation touching the fence, poor grounding, damaged conductors, or loose electrical connections.
How do I know if my grounding system is working?
Use a digital fence tester to measure voltage and inspect all grounding rods and connections regularly for corrosion or loose fittings.
Can regular maintenance extend the life of an electric fence energizer?
Yes. Routine maintenance reduces unnecessary electrical load and helps your energizer operate efficiently for many years.
Recommended Products
LIFEALL Electric Fence Voltage Tester – 8-Level LED
8-level LED, 600V to 12000V, works with all energizer types
LIFEALL Electric Fence Jumper Lead Cables
Red & green crocodile clips, connect energizer to fence & ground
LIFEALL Electric Fence Insulator Driver
Drill attachment socket bit for screw-in post insulators
Read article
 electric fence components
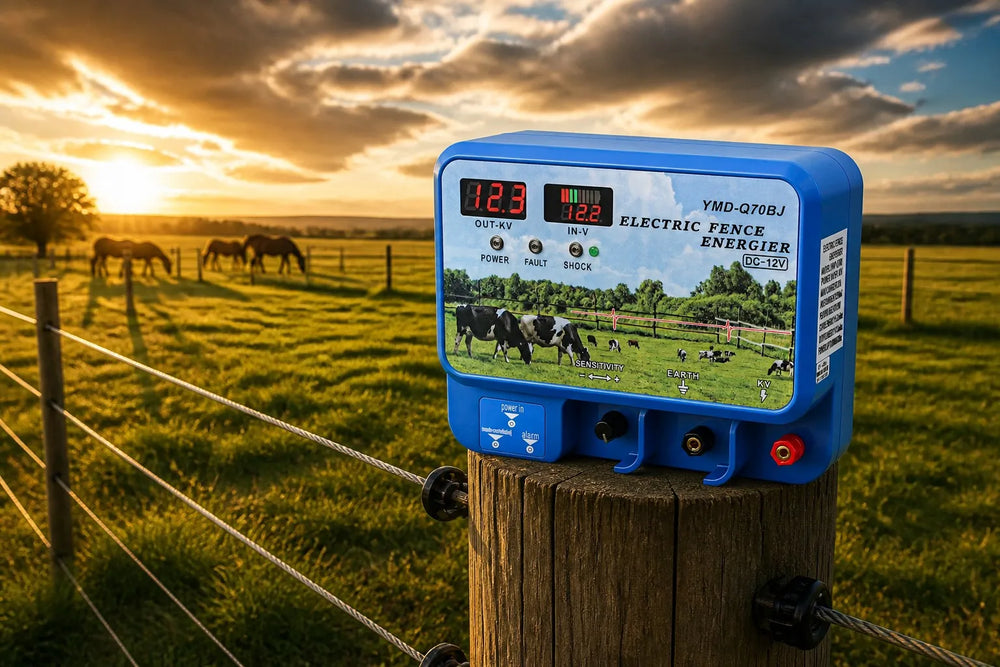
What an electric fence is made of and how the parts must match: energizer, wire, insulators, posts, grounding, connections and test equipment.
Read article
 electric fence safety
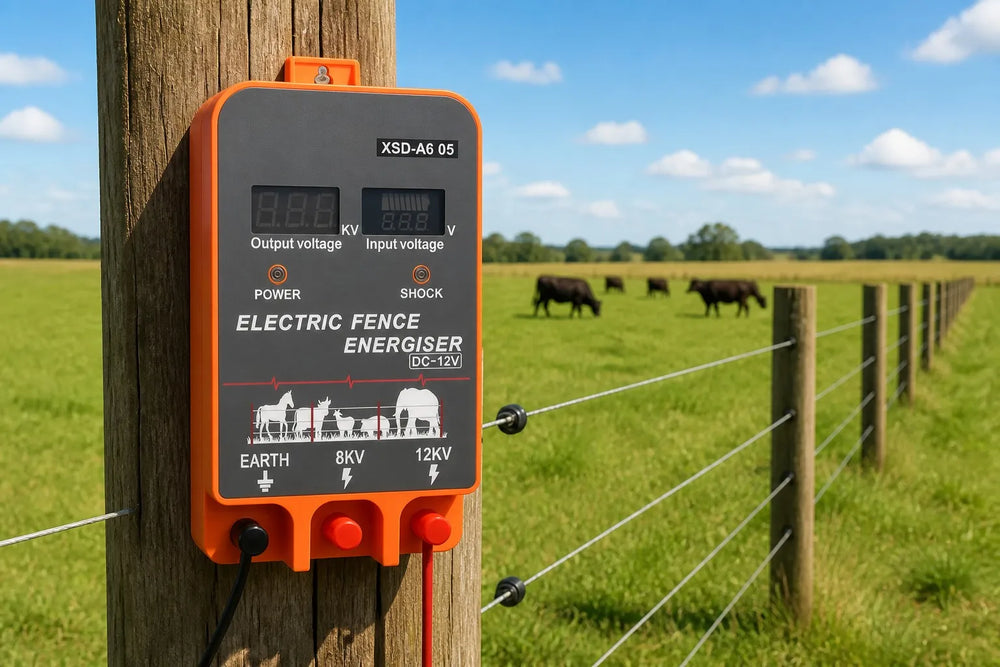
Ten electric fence safety precautions before you install: testing, warning signs, RCD protection, grounding, bridging risks and legal requirements.
Read article
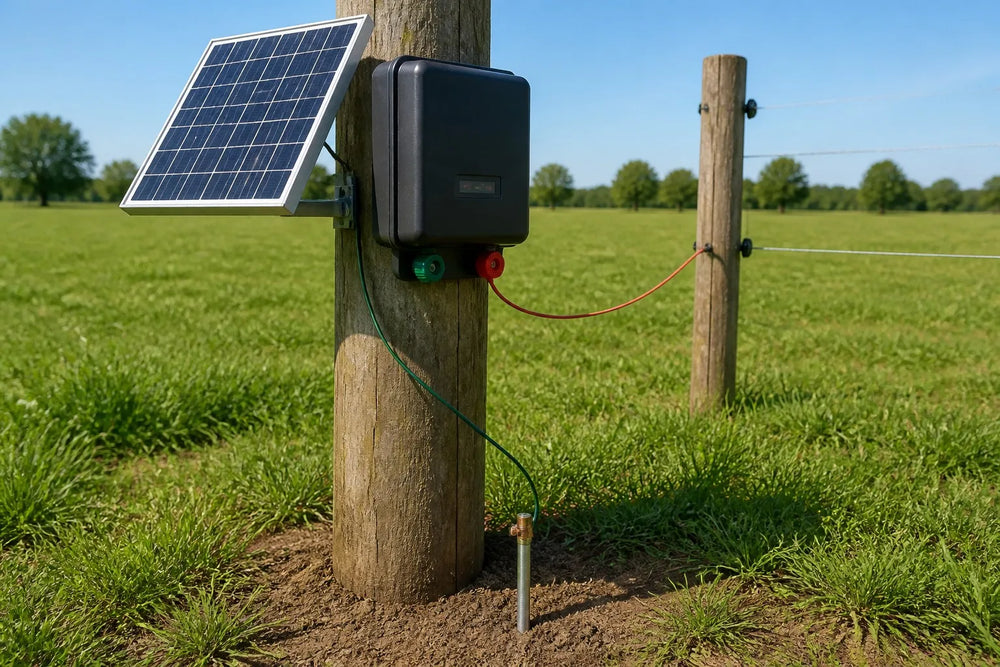
How to Install an Electric Fence Energizer: Wire, Ground Rod, Solar & Battery Connections
An electric fence is only as good as its connections. The energizer itself is simple — it produces the pulse — but everything that makes the fence work happens in four connections: the fence wire, the ground rods, the solar panel, and the battery. Get any one of them wrong, and the fence gets weak, works intermittently, or fails outright.
This guide walks through each connection in the correct order, with the wiring layout that keeps your fence at full voltage. You need only basic tools: a screwdriver, insulated lead-out cable, connectors, and a fence tester for the final check.
What You Need
Insulated lead-out cable — high-voltage rated wire from the energizer to the fence
Ground rods — galvanized steel, at least 1.5 m (5 ft) long, one to three rods
Connectors — clamps or splice connectors rated for your fence type
12V battery and/or solar panel — depending on your energizer model
Fence tester — to verify voltage before trusting the fence
Step 1 — Connect the Fence Wire
The energizer has two high-voltage terminals: the fence (KV) terminal and the earth terminal. The fence wire connects to the fence terminal only.
Run a short piece of insulated lead-out cable from the energizer's fence (KV, red) terminal to the fence line.
Join the lead-out cable to the fence wire with a proper connector — the join must be clean, tight, and corrosion-free.
Keep the lead-out run as short as possible and keep it off the ground and off posts. A lead-out wire lying on the soil leaks voltage before it ever reaches the fence.
Use only insulated cable for the lead-out; bare wire on the way to the fence is a short circuit waiting to happen.
If you are choosing wire for the fence itself, our wire type guide compares poly wire, poly tape, and steel.
Step 2 — Install the Ground Rods (The Most Important Step)
The fence circuit only works when the pulse can return to the energizer through the soil. That return path is the ground rod system — and poor grounding is the #1 cause of weak or dead fences. It is also the most common reason energizers get damaged.
Drive one to three galvanized ground rods at least 1.5 m (5 ft) into the ground, in moist soil if possible.
Connect the rods together with 1.5 mm² insulated copper or aluminum wire.
Run insulated cable from the rods to the energizer's earth (black) terminal.
Make every connection tight, clean, and corrosion-free — a loose or rusty clamp silently kills fence power.
Wiring order that matters: ground rod → earth terminal on the energizer. Never connect the ground rods to the fence wire, and never skip the earth connection — an ungrounded energizer can be damaged the first time the fence is loaded. In dry, sandy, or rocky soil, add extra rods. For the full theory, read our complete grounding guide.
Step 3 — Connect the Solar Panel (Solar Models)
If your energizer is solar-powered or 3-in-1 (AC/DC/solar), the panel feeds the internal battery through a built-in charge controller.
Mount the panel where it gets unshaded sun for most of the day. In the northern hemisphere face it south; in the southern hemisphere (Australia, New Zealand) face it north.
Tilt the panel at about 30–45° so rain runs off and winter sun still reaches it.
Plug the panel cable into the energizer's solar input terminals, matching the + and − markings.
Check the display or charge indicator — it should show charging in daylight.
A shaded panel is the most common cause of "solar fence keeps dying at night". Trim vegetation and reposition before blaming the energizer. Our solar fence guide covers sizing and off-grid operation in more detail.
Step 4 — Connect the Battery (Battery Models)
Battery-powered and solar units store energy in a 12V battery so the fence runs 24 hours a day.
Use a 12V lead-acid battery (typically 4.5–60 Ah depending on your fence length).
Clip the red lead to the battery + terminal and the black lead to −. Polarity matters — check the markings before clamping.
Place the battery in a dry, ventilated, protected spot, off the ground if possible.
If the battery is not included with your unit, choose a battery rated for daily cycling; a car battery works, but a deep-cycle battery lasts far longer in fence service.
Step 5 — Power On and Test
Power the energizer on (AC adapter, battery, or solar). The power LED should light.
Walk to the far end of the fence and test with a fence tester — a healthy fence reads well above 3,000 volts.
Check the energizer's fault indicator: if it shows a short, walk the line looking for vegetation or wire touching posts.
Learn the correct testing technique in our voltage tester guide, and if the fence still underperforms, start with the troubleshooting guide.
Safety Notes
Never touch the energizer terminals or fence wire while the unit is powered on.
Keep children and pets away from the fence line.
Disconnect power before adjusting any connection.
Conclusion
Four connections, one rule: fence wire to the fence terminal, ground rods to the earth terminal, panel and battery to their marked inputs — then test at the far end. Do this and your energizer will deliver its rated power for years.
Need ground rods, insulated lead-out cable, connectors, or a fence tester? Browse the LIFEALL range of electric fence equipment, or contact our team with your fence length and energizer model — we will help you complete the installation correctly.
Read article



 DIY electric fence
